A never-ending plague…
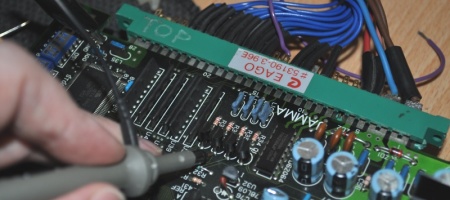
I picked up a NebulasRay earlier this week, hard to find these days and I’d heard someone mention reliability issues. It arrived, it worked, and upon close inspection I can see one reason these would fail. Light corrosion around the amp and surrounding components, it’s the exact same problem as NA-1 boards – leaking SMD capacitors. Not entirely surprising since they’re a similar age and look like the same make/model of caps. You’ll need the following:
NB-1
100uF / 6.3v (case D) - C13, C16, C18, C19
47uF / 16v (case D) - C25, C26, C27
2.2uF / 35v (case A) - C22, C28
1uF / 50v (case B) - C40
First you need to remove all the SMD caps, of course if you can work out which one(s) are leaking you could just do a couple but honestly I feel safer replacing them all. I also found that removing the following components will greatly help with access during the removal/refitting process: amp heatsink, capacitor C34, inductor L2. My current method for removing these caps is to slide a thin craft knife between the cap case and the plastic foot they come with, then gently twist it to lever the cap body up a little without pulling against the PCB. Once slightly loose rock the cap from side to side for a while until it eventually falls off leaving you with a pair of legs to easily desolder.
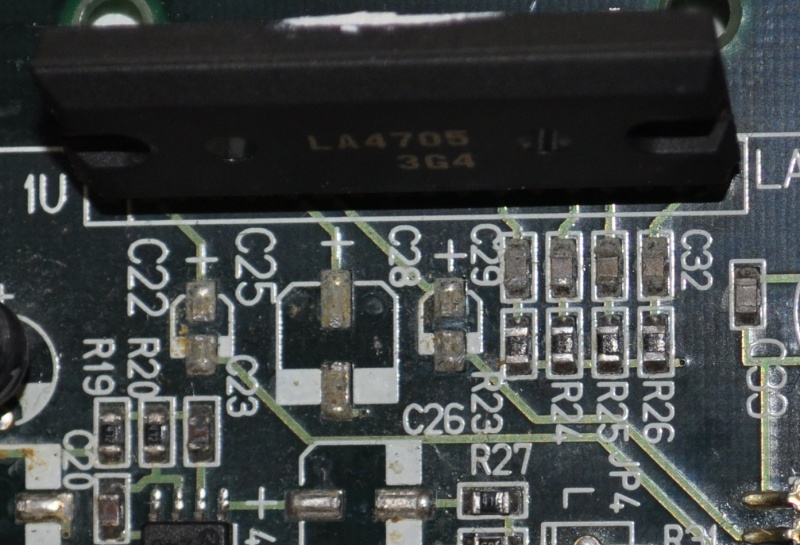
With the components removed, we can see if any repair work will be needed due to corrosion.
We can see that C25 has been leaking and potentially C22 and C28 too. Fortunately the board has been used/stored such that it’s drifted off to the right, affecting only minor components and the amp pins which don’t look too bad. Time to clean it with isopropanol and see how it looks then.
A lucky save. The ceramic cap row which looked pretty ugly is actually fine (C29-C32), the pads for the leaking caps are undamaged, and while you can see the corrosion was starting to bite on the amp tracks it’s not too bad and isn’t going to get any worse now. Pin 2 looks like it would be troublesome to reflow properly (corrosion can make this very difficult) so I decided it was better to leave the amp as-is.
SMD caps are awful to work with. My current approach is to flow a very tiny amount of solder onto one pad, and then ‘tack’ the capacitor into place so it’s easier to reposition. When you’re happy, solder the untacked side properly and then reflow and add a little solder to the tacked one. Use a lot of flux.
Finally re-assemble anything else removed and clean the flux up with your favourite PCB cleaner. I used one sprayed into cotton buds and did a localised cleaning, it’s pretty cramped and if you flood the board with cleaner it’s possibly going to flood into the annoying surface mounted volume control. Mine came out like this (I missed a few bits of flux, it’s cramped there even for cotton buds):
I really hope this doesn’t affect other Namco games from the time period, it would be worth keeping an eye on the Playstation based hardware (Raystorm, GNET etc) just in case. Checked some I had to hand and I can’t see anything on them yet.


