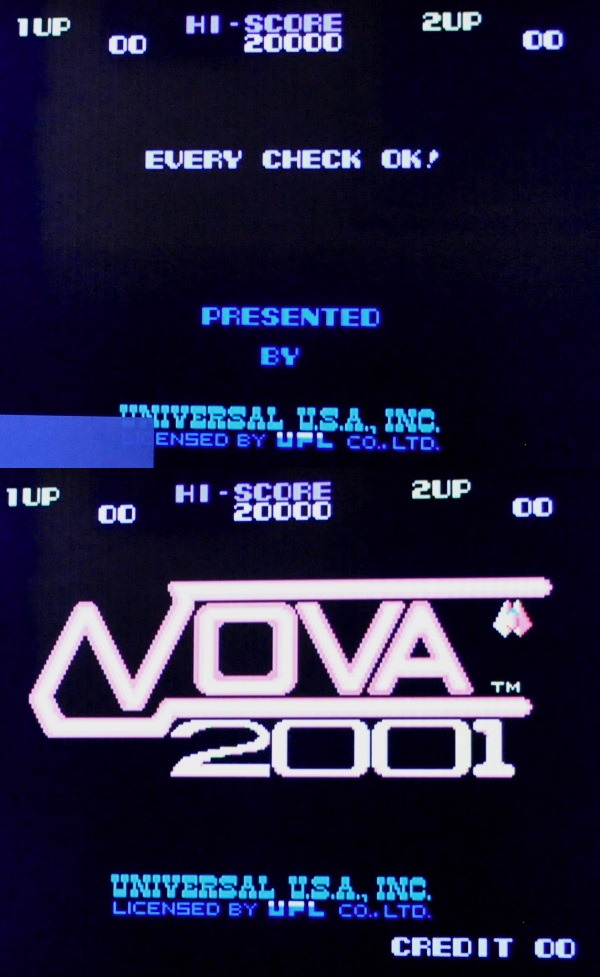
If you’ve seen my recent new arrivals post, you may have noticed a broken Nova 2001 PCB. I’d had a quick look at it when it arrived and managed to at least capture the error message, but today I decided to really sit down and put some time into it.
So this is what I was faced with – the game would try to boot and then reset halfway through, the only way I managed to get a photo of the error itself was by making a video and stepping through it frame by frame.
You can see that the CRLRAM bank allegedly has a fault, which could mean a RAM chip or it could just as easily be some logic between the RAM and CPU (in this case a Z80) testing it. The biggest problem though is that we don’t actually know which RAM chips to look at on the board. I’d already checked all of them with a logic probe to see if there was anything obviously wrong, but nothing stuck out as being faulty. When faced with this kind of problem on a booting game we can try various methods of disrupting the RAM to try to isolate which bank is at fault, but this is not possible when you’re stuck with a rapidly looping test mode.
This is where MAME can be really useful, since the functional memory areas are mapped out even if they may not quite match the labelling or usage on the actual PCB. The error screen above appears after the four code ROMs have been checked, and the names would imply that a foreground and background layer have been checked successfully. This is from the comments of the Nova 2001 MAME driver:
I was willing to bet that the first two RAM banks were the foreground and scrolling playfield layers, so it would be a fair bet that the sprite RAM would be checked next. While the error message stated CRLRAM, on a working board or testing in MAME the success message would normally say CELRAM which could also hint at it being the sprite memory.
The next step was to run the game in MAME and use the debugger to set a watch point on the sprite RAM memory address at $B000. In the following pictures I also set a breakpoint at $16AC, which happens to be a jump at the end of the message display code – I was able to find this by carefully stepping through the program. We can see that the first interesting write is 47 into $B000, and MAME pauses here due to the watchpoint.
RAM tests are usually performed by writing into the RAM and then reading it back to see if it matches, and using the debugger memory viewer we can actually change that data mid program. After replacing the value with 00, I set it running again. We can see a very familiar error message now, and due to the breakpoints I set at the end of the message display routine, it doesn’t immediately vanish before it can be read. This confirms that the RAM area at $B000 is definitely the area of RAM that the game is struggling with.
This is all very interesting, but it still doesn’t tell us which chips we need to be looking at on the PCB, but MAME hasn’t finished helping us yet. When we first looked at the watchpoint, there was an area of code highlighted on the right which is responsible for actually writing the test data. What if we modified that code so it just kept writing indefinitely?
It’s difficult to make meaningful changes right in the middle of code, but far less difficult if you just want to make a change to some data without changing the length of it. In the screenshot below the highlighted code is going to cause the CPU to jump to address $1693, and 1693 is just a two byte piece of data.
We want the program to go back to $14E1 right at the top which is the entry point for the RAM test. Time to open ROM 1 in a hex editor and find the code at $14F7 (C3 93 16):
You can see that the two bites of the address are reversed so we replace 93 16 with E1 14 ($14E1).
I’d already extracted the MAME set to a folder, so saved and overwrote the original file, let’s see what happens in MAME now with the same watchpoint and breakpoint as before.
Unfortunately since the game checks the integrity of the code ROMs at boot we’ve created a version that resets even quicker. Since I couldn’t easily find where this check takes place, I decided to modify other data in the ROM to restore the checksum. Fortunately right at the top this one are nearly 32 bytes which appear to be of little importance (FF/00), so I adjusted them a little to compensate.
I worked on calculating the difference between the data originally in the file and what I had changed it to, and adjusted two bytes by the same amount. The first time I tried this it worked perfectly but the second time (after I corrected the jump address) it didn’t. There’s a hole in my guesswork somewhere and I’m not sure what it is, but it only took a couple of attempts to readjust it and fool the boot time ROM check.
Now we have a version of the program code which just sits there trying to check the sprite RAM for all eternity…
There is one final problem though. The PCB has watchdog hardware and if it notices the CPU appears to have stalled, it resets it (MAME emulates this too). Testing the new code on the PCB did however prove that it was lingering slightly longer in the RAM test before the watchdog kicked in. This is what the relevant parts of the watchdog and reset circuit look like:
The red line is the actual reset line, this is normally high and driven by the 74LS08 at position 4B. The LS 08 is an AND device, if inputs A and B are both high then the output is high, else the output is low. The inputs in this case are the power-on reset circuit in blue which is essentially just a capacitor on the 5v line, and in green a feed from part of the watchdog circuit (the 74LS161). To disable the watchdog what we have to do is either cut one of the chip legs or the track to disconnect input A and then join that to input B so that the power-on is driving both inputs. There are pros and cons to both methods, you could even remove one of the chips, fit a socket and leave one of the legs hanging out. In this case I opted for using a scalpel on the track directly below the 161. It was a very small transition track and very easy to rejoin later.
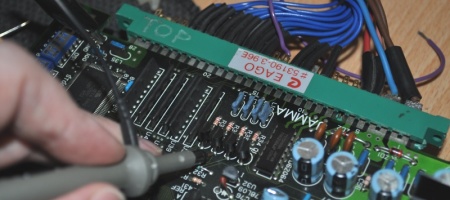
Sure enough the game booted up and immediately got stuck looping the sprite RAM test, and using a logic probe it was very easy to work out which RAM was being accessed – one of the three surface mount 6116 chips. It’s not possible to get chips of the exact same size any more as these were early surface mount RAM, but ones that fit the pad layout are easily available.
Of course just because a RAM test fails, it doesn’t mean that the RAM is definitely faulty. As I pointed out earlier it could be the logic between the CPU and the RAM but in this case it really was that simple. That blue rectangle bottom left is just part of the OSD on the television.
Without the assistance of MAME I would have had to replace all of those chips since none of them appeared to be faulty with normal testing, and if it had been a logic fault I probably would have continued around the board replacing all the other RAM I could find due to the way the boot test works.
Not only does MAME preserve games so that people can enjoy them in a world where prices are rising and supply drying up, but it also helps us to preserve the hardware that still exists, both as a source of vital documentation and a means of testing.


